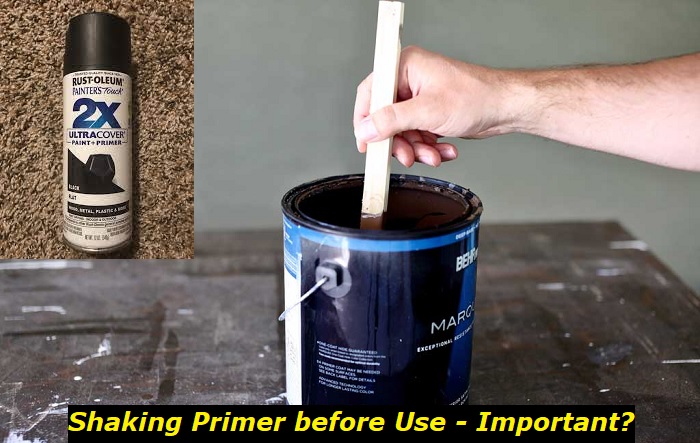
When it comes to working with primers, it’s not just about any slapdash approach; there are important methods to heed. One common question that arises among many users is, do you have to shake primer? The answer, quite simply, is yes. Shaking your primer before use is crucial to its effectiveness and final aesthetic outcome.
Primers are a complex mix of elements, and these components can separate over time. By giving your primer a vigorous shake, you’re ensuring these elements are thoroughly mixed once more, allowing for a seamless and even application. If you skip this step, the result could vary from poor consistency to a less effective primer. After this brief introduction, our article will dive into more detail about primer composition, the repercussions of not shaking primer, and some handy tips for shaking primer properly.
Understanding the Composition of Primers
Before we delve into the importance of shaking your primer, it’s crucial to understand what a primer essentially consists of. Primers are a preparatory coating put on materials before painting. They are made up of three main components; pigments, binders, and solvents. The pigments offer color and opaqueness, while the binders provide the crucial adhesion property. Further, the solvent ensures your primer maintains a liquid shape until applied.
The pigments in primers are super fine particles that can settle at the bottom of the container over time. Conversely, binders and solvents are typically lighter and might float to the top. Thus, when you let a can of primer sit for a while, whether on a store shelf or in your workshop, layering occurs due to these varying weights, and your primer essentially separates into its basic components. This separation process is called sedimentation and is a normal occurrence for mixed products like primers.
Knowing the composition of primers and how separation occurs offers invaluable insight into why shaking a primer before use is non-negotiable. It is only by shaking the can that you can effectively combine these layered components back into a usable product, ensuring maximum performance and finish quality when used.
The Importance of Shaking Primers Before Using
Think of shaking primers as activating the product’s full potential. Primers are essentially a blend of pigments, resins, solvents, and additives – each having its own specific density. Over time, these components tend to separate due to gravity, with the denser particles sinking to the bottom. This segregation results in an uneven distribution of the primer’s constituents, which, in turn, can hinder its overall functionality.
By shaking a primer before using it, you ensure that all these key components are reintegrated. This action creates a homogeneous mix that guarantees the prime coat’s even application and optimal performance. Failure to adequately shake your primer can lead to a substandard finish and poor adhesion, which means the overlying paint may not stick properly, lacking the durability and longevity it should offer.
Shaking also helps to dissolve any potential lumps formed by the pigment and resin mixture, trim down the primer’s viscosity for smoother application, and mix any settled metallic particles if it’s a metal primer. It’s a simple step, but shaking your primer is pivotal to bringing about a professional, high-quality finish to your paintwork.
What Happens If You Don’t Shake Primer
In the world of painting and decoration, understanding primer isn’t just about knowing its purpose. It’s crucial to understand the importance of proper usage too. So, let’s take a closer look at what happens when you don’t shake primer.
As we’ve noted, primers consist of multiple components that, over time, tend to separate due to their different densities and nature. When this separation takes place, it means that you’re not getting a balanced mix of all these components if you decide to use the primer without shaking it first.
If primer isn’t thoroughly shaken before use, you can end up with an inconsistent application. You risk applying primer too thin or too thick in different areas leading to a non-uniform appearance. Besides the unsightly results, this could also affect the adhesion of your topcoat.
Moreover, the unshaken primer might not hide the original surface as well as it should. It could mean more coats of paint are required to achieve the desired finish, which could require additional effort, time, and resources from you.
Lastly, using unshaken primer might result in reduced durability of the finished paint job. It might mean that the surface may become more susceptible to cracks, peeling, and various forms of damage over time. All in all, the consequences of not shaking primer can compromise the quality and durability of your paint job. Therefore, the simple act of shaking a primer before using it is fundamental in the painting process.
Tips for Properly Shaking Primer
Shaking primer effectively isn’t merely about giving the can a quick frolic. There’s a certain finesse and method involved in undergoing the task correctly. So, let me guide you through the key steps to consider when shaking your primer.
First things first, before you let your arms do the work, observe your primer can. Some primers feature a small metal ball inside, commonly known as a ‘mixing ball’. When you shake the can, this ball helps stir the ingredients, ensuring a consistent texture.
However, even if your primer doesn’t have a mixing ball, don’t sweat it. Regardless of mixing ball presence, the process of shaking remains a vital step. Here are some helpful pointers to get you started.
To shake your primer effectively, grasp the can with both hands and give it a vigorous shake for about one to two minutes. This may sound like a long time, but remember, we want to ensure all the elements mix thoroughly. A thirty-second shake typically won’t cut the mustard.
If you haven’t used the primer in a while, you might need to shake it for a slightly extended period. This is because the elements will have had more time to separate, and so will take a little longer to mix back together.
Finally, after giving your primer a good shake, it’s best to let it rest for a couple of minutes before using it. This pause allows the primer to settle, and any bubbles that might have formed during the shaking process to dissipate, ensuring you get a smooth and even application without bubble-related discrepancies.
By gifting your primer to these small subtleties of care, you not only ensure a flawless application but also extend the life and effectiveness of your primer for future painting and decoration tasks.
- Can You Unmix Paint: Techniques, Consequences, Alternatives - February 23, 2024
- Does Primer Need to be Mixed? Effective Primer Application - February 22, 2024
- How to Make Old Paint Usable Again: Retrieving and Preserving Paint - February 21, 2024


