Oil paint, revered for its rich texture and vibrant color, provides an exceptional finish to walls. From the old masters’ canvas to modern interior decor, it’s maintained its place as a preferred medium, mainly due to inherent qualities such as durability, opacity, and blendability. When used on walls, not only does it offer a smooth finish, but it also resists staining and wears better over time, reinforcing its popularity among homeowners and professional painters.

Yet, the magic of oil paint truly shines when creating custom colors. Mixing oil paints for walls allows an immense range of hues beyond the standard palette, bringing personalized aesthetics to life. Whether aiming for a soothing pastel or a bold, vivacious shade, understanding how to blend oil paints can create the perfect wall color. This article will demystify the color wheel, outline necessary materials and steps for mixing, offer guidance on storing leftover paint, and delve into advanced techniques for those eager to master their craft.
Understanding the Color Wheel: The Basics of Mixing Paints
At the heart of color mixing lies the fundamental tool called the color wheel. Organized into a circle, it showcases a progression of colors which is an invaluable resource when learning how to mix paints. The wheel typically consists of twelve colors, containing primary, secondary and tertiary colors.
Primary colors – red, blue, and yellow – are the basic colors that can’t be created by mixing any other colors. By combining two primary colors, we can form secondary colors: green (blue and yellow), purple (red and blue), and orange (red and yellow). One step further, mixing a primary color with a nearby secondary color yields a tertiary color, creating a six-part harmony of red-orange, yellow-orange, yellow-green, blue-green, blue-violet, and red-violet. This may sound like a school lesson, but giving a nod to this elementary knowledge helps lay the foundation for creating a wide range of hues with oil paint.
Using the color wheel as a guide, you can create a myriad of shades for your walls. Want a cooler shade? Move towards blues and greens. Looking for something warmer? Explore reds, oranges and yellows. The choice is yours to experiment, but the wheel serves as your reliable roadmap.
In the world of oil paints, understanding the principles of color harmony and contrast can also be beneficial. Complementary colors, split-complementary, analogous colors, double-complementary, square and rectangular, triadic colors – all these terms convey complex relationships between colors on the wheel. For instance, complementary colors, which sit directly opposite each other on the wheel, create dynamic contrasts that can truly invigorate a room.
Beyond the theory, the art of mixing oil paint is largely a hands-on task where intuition and personal preference play a key role. Wielding the knowledge of the color wheel, you’re now armed to master the colorful alchemy of oil paint mixing.
Materials Needed for Mixing Oil Paints
Before embarking on the journey of creating your custom wall color, gathering the right materials is essential. Much like a seasoned chef cannot whip up a culinary masterpiece without the right tools, an artist or DIY enthusiast needs specific materials to mix oil paints effectively.
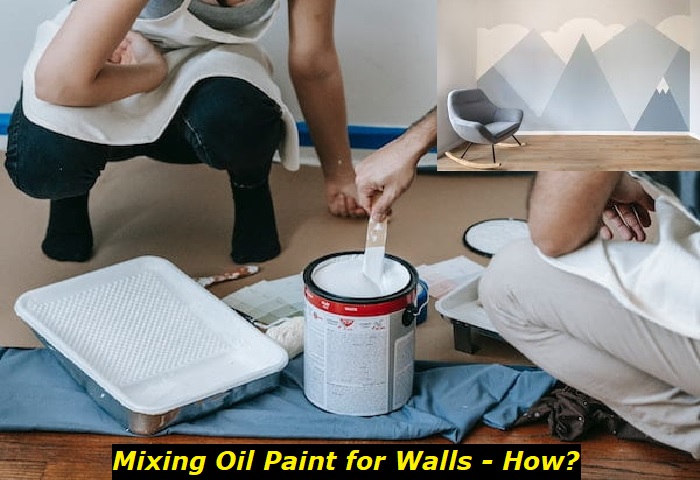
At the heart of your setup should rest a solid and ample palette. This tool offers not only a surface to mix your concoctions but also a platform to observe your colors and gauge how they’ll appear on your walls. Wooden palettes are widely favored for their ease of cleaning, though glass palettes too make an attractive choice, providing a smooth surface for seamless mixing.
A fundamental companion to a palette is a high-quality palette knife. This critical tool lets you blend the oil paint uniformly, fostering a smoother mixture. Also, it makes cleaning your palette a breeze post painting. While many artists lean toward stainless steel knives for their durability, the choice boils down to personal preference and comfort.
Jars or containers with lids play a crucial role in not just storing leftover paint, but also for preparing and storing medium. Glass jars are ideal for this role due to their non-reactive nature with oil paints or mediums, and the clear body allows you to readily identify colors for future use.
Lastly, but far from the least, your choice of oil paint is fundamental. Superior quality paints offer higher pigment loads, resulting in deeper, more vibrant colors that stand the test of time. Always remember that a spectacular wall color begins with top-notch ingredients, thereby emphasizing the importance of starting with high-quality oil paints.
Step by Step Guide to Mixing Oil Paint for Walls
Delving into the art of mixing oil paint for walls brings an exciting opportunity to create bespoke colors tailored to your space. Let’s gradually unfold this skill, stepping into the world of hues and tones.
Before you begin, remember that your workspace should be well-ventilated and lit. The key to mixing just the right shade lies in a well-lit surrounding that brings out the true tones of the paint. Also, ensure your hands are protected with a pair of disposable gloves to keep them free of stains.
Mixing oil paint is a two-pronged process: combining the colors and achieving the right consistency. Of course, the colors you desire decide the paints you pick; however, using a color wheel can make this task simpler. The primary colors- red, yellow, and blue, when mixed in various proportions, can yield a plethora of vivid shades. Combining two primary colors gives you secondary colors (orange, green, purple), and further blending these with the primaries creates a visually delightful array of tertiary colors.
Once the desired color is obtained, the next step is to reach an optimal consistency that can be easily applied to the walls. This is where the role of a medium becomes essential. Linseed oil, poppy oil, or specific, shop-bought oil mediums are typically used to adjust the viscosity of oil paint. Start by adding a small amount of medium to the mixed paint, and gradually increase until the paint has reached a consistency that can be smoothly spread on the wall.
The act of blending should be carried out using a palette knife rather than a brush. Keeping the knife at a 45-degree angle, sweep it across the paint, spreading and pulling it back together. This ensures a thorough and even mix of the paints.
The final step is to test your paint on a small piece of wallpaper or lining paper. Once it dries, you can analyze if the color and consistency are up to your liking. If not, you can always go back, adjust the hues or add more medium, and refine your mix.
Mixing oil paint for walls may seem a tad bit overwhelming initially. But with these detailed steps and a bit of practice, you’re all set to bring a dash of customized elegance to your walls.
How to Store and Save Leftover Oil Paint
If you’ve found yourself with leftover oil paint after your home improvement project, don’t be too quick to dispose of it. It’s important to know that appropriately stored, oil paint can last for a tremendous amount of time, ready to be reused when needed. The right storage method can help preserve paint quality and extend its lifespan, which is not only economical but also environmentally friendly.
The first step toward saving your excess paint requires ensuring a tight seal on your paint containers. This seal prevents air from entering and drying out the paint. If your original container is damaged or can’t be sealed securely, transfer your paint into a clean, airtight jar. Be sure to label the jar accurately with the color, brand, and date you stored it.
Sometimes oil paint can form a film or skin on top if left untouched for a period of time. This dry layer can easily be removed, and the liquid paint underneath remains good as new. A great way to avoid this having to remove dry paint is to place a piece of plastic wrap directly onto the surface of the paint, creating a seal that prevents air contact.
Storing your paints properly means keeping them in a cool, dark place away from direct sunlight or extreme temperatures, which can affect the consistency and color of your paint. Ideal storage locations include basements, closets, or utility rooms.
When the time comes to revisit these paints, stir them thoroughly to mix any settled pigment. This ensures smooth, even color upon application. In the case of oil paint looking thick or clumpy despite stirring, adding a bit of an appropriate thinner can restore it to its original consistency, ready for your next wall refresh or touch-up.
By properly storing and saving your leftover oil paints, you can reap the benefits of custom colors for much longer and enjoy the fruits of your creative process over and over again.
Mastering the Art: Advanced Tips and Techniques
As you continue your colorful journey into the world of oil paints, there’s always more to learn. Expanding your mastery of oil paint mixing unlocks endless color Possibilities, turning your walls into canvases that mirror your unique identity.
Experimentation is key. As artists everywhere would attest, there isn’t a strict recipe for unique color creation. Even while aiming for a specific hue, feel free to explore the width and depth of your color palette. Start with primary colors, make your secondary and tertiary colors, and step by step, venture into more complicated shades. Advanced hues such as browns, greys, and black require multiple colors, involving both warm and cool shades.
The art of glazing should also be under your mastery. Glazing is a technique in oil painting where a thin, semi-transparent layer of paint is applied over a dry layer. This technique is often used to adjust the hue or tone, add depth and richness to colors, and create luminous effects. Remember, the secret is in the thinness of the applied layer.
Another important insight that every oil painter should know is the impact of lighting. The influence of natural and artificial light can affect your wall’s color depiction. For instance, the paint color might appear differently under morning light compared to evening light. Hence, it’s always advisable to test your color mixes in various lighting conditions before painting the entire wall.
Texture is another element you could play with. Different tools can create diverse texture effects on paint. Besides brushes, consider trying different tools such as palette knives, rags, or sponges. This will add an extra dimension to your walls and make them stand out even more.
- Can You Unmix Paint: Techniques, Consequences, Alternatives - February 23, 2024
- Does Primer Need to be Mixed? Effective Primer Application - February 22, 2024
- How to Make Old Paint Usable Again: Retrieving and Preserving Paint - February 21, 2024


