When it comes to the protection of your wooden furniture, you may choose varnish or lacquer that suits your needs. We would go with lacquers most of the times just because we love the way the wooden surface looks after you apply lacquer. But to make it look good, you will need to know a couple of things. For example, how many coats should you make?
And this is the most obvious question that can spoil your day when you start finishing your project. We can say that the correct answer is not obvious at all. We need to consider many factors like what the purpose of the furniture is, what the conditions will be, and what kind of design you want to get in the end.
So, today we’ll be discussing such questions:
- How many coats of lacquer you may need?
- Does it make any difference if you use spray or brush methods?
- What kinds of lacquer should you choose?
- How long should you wait between coats?
- What are the common mistakes of applying lacquer as a wood finish?
Let’s dive in!
Coats of lacquer – the hard question to answer
Remember that before applying any lacquer on your wood, you need to ensure that the surface is prepared. It should be properly sanded, stained, colored, oiled. Do everything you want to do with your wood because after you apply lacquer, there is not much you can do to make the wood look better. Lacquer is basically just a method to make wood look the same for a longer time.
So, when applying lacquer, you need to make sure that all previous steps of wood preparation are successfully finished. Then look at your wood. Is it smooth or rough? If you see a very smooth surface, fewer coats will be needed. But the minimum number of coats is considered to be three. If you only apply one or two coats, the protection will be too poor.
Then, look at the type of wood. Some materials absorb moisture faster, so they will need more coats because the first ones will dry very fast without forming a decent barrier for water, dust, and other factors. Read more about the requirements for the wood type you use.
Also, take a look at your lacquer. You will find special instruction on a can or on a sheet of paper that was delivered with your lacquer. Producers usually say how many coats you need to achieve the best results. The number of coats may differ from 3 to 9 (from one brand to another).
Think of how thin your lacquer is. Usually, it comes not that thin in an openable can. But you may use different materials to make it thinner. Especially if you use a brush to cover the surface with lacquer. If the material is too thick, you will have a lot of brush tracks on the finish. Thinning the lacquer is important, but don’t make it too thin, because thinner coats won’t protect your wood from damages. The thinner your lacquer, the more coats you will need.
Spray and brush – any difference?
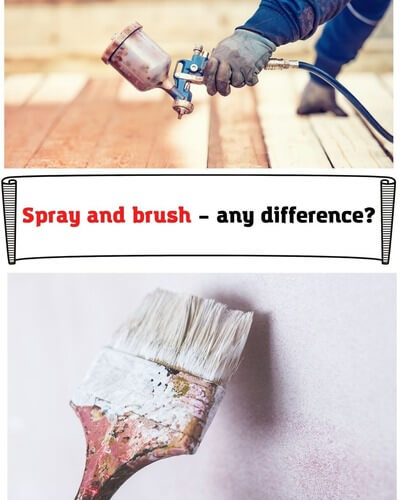
Here we’ll be more specific about the way you apply your lacquer. We know a couple of main types: brush, wiping, and spraying. The first two options are possible if you buy your lacquer in an openable can. Just open the can, use your brush or cloth to put some material onto the needed surface. You may also thin the original lacquer to make it easier to work with. The other option is to buy a spray can with lacquer that is available by many brands now. It looks really good because you will just spray the material over your wood without any other preparations and instruments.
Here are the rules that determine the number of coats:
- For a brush or by wiping you will need to put at least three or four coats. Four to five coats are usually considered good for the parts that will be used much and that will come in contact with water.
- For a spray, seven to nine coats are considered to be good because the spray lacquer is much thinner than the one in the openable can. Also, each coat will be thinner and quicker to dry and harden.
If you don’t find any specific regulations in the instructions, just follow these simple rules. They will help you get a great finish. Remember that if you use a few layers of lacquer on your wood, the surface won’t be protected. Once it comes in contact with water, the wood will start swelling and destroying step by step. On the other hand, if you apply too many coats, it will be hard to make the surface look even, smooth, and beautiful. Before taking the can with lacquer in your hands, read the instructions and figure out how many coats are enough for your project.
How long to wait between lacquer coats?
Again, this depends much on what kind of lacquer you use. You must see the instruction first because every kind of finish will have some different requirements. But in general, lacquers will need around 3 hours to dry to touch. This doesn’t mean that you should apply the next coat in just three hours. You should wait for at least 8 hours until the lacquer hardens and is ready for another coat.
Make sure you don’t wait for more than 16 hours. Lacquer should form a single protection coat after combining all coats you make. But if one of the coats hardens too much, all next coats will be at risk of peeling off over time.
Some producers offer special ways to make lacquers dry faster. They may recommend using some kind of equipment for hardening each coat. But traditionally, we don’t recommend doing that because the quality of wood protection will be lower. Better follow the instruction or just make 8-hour gaps between applying the next coats. It’s OK if the period between coats will be 7 or 10 hours, but don’t wait for too long and don’t hurry with this.
What kinds of lacquer should I use on wood?
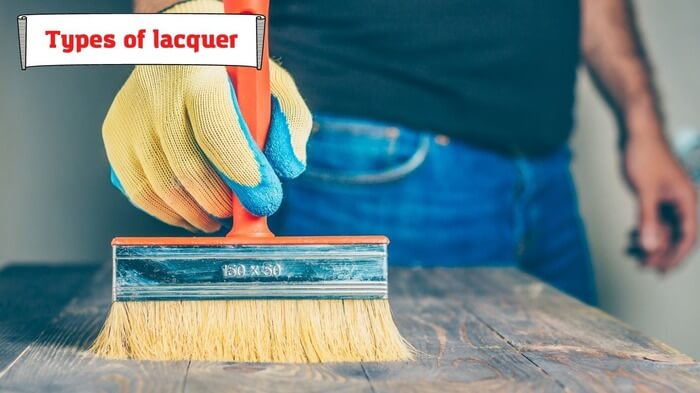
The way you apply lacquer depends much on what kind of material you choose for your project. We know about four different types of lacquers that are commonly used in the US, Australia, New Zealand, and other countries:
- Nitrocellulose lacquer. It’s not that bad and it was used much in the mid-twentieth century for musical instruments like pianos and guitars. But today it’s not considered to be the best option you may get.
- Acrylic lacquer. This type is much fresher, and it’s better than the nitro one because it doesn’t yellow, it creates wonderful protection. Acrylic lacquers aren’t that toxic and they are pretty easy to apply.
- Waterborne lacquer. One of the best advantages of these materials is that they are really environmentally friendly and non-toxic. No health issues, no bad fumes, and quite decent protection from wear and tear are guaranteed.
- Catalyzed lacquer. These are the most durable lacquers with a lot of chemicals that make them dry faster and harden pretty much for creating strong protection. But the health issues should be considered before applying such materials.
Also, we can remember urushiol-based lacquers, but they are common in East Asia, not in America or Europe, so no need to say a lot about them.
Common mistakes when working with lacquer
Bad ventilation is a very poor mistake that many people make. Most lacquers are curing and hardening while the solvents and other chemicals are evaporating. This means that if you don’t have decent ventilation in the room where you work, you will inhale all those solvents and chemicals which is pretty bad for your health.
Mixing lacquer with shellac is another trouble. Never mix different finishes unless you know for sure they are compatible with each other. This may destroy the advantages of each finish and leave you frustrated.
Poor wood preparation is a thing you should take a note of. Pay attention to the recommendations that the producer gives for a certain lacquer. Some brands say that you need to sand the wood with 400-grid sandpaper, others say that it’s not needed. Just stick to the requirements to get the result you will be proud of.
Too thick coats are also here to remember. If you put thick coats, the final design of the project may suffer. Also, the lacquer may crack easily or even peel off in some time. Make as thin coats as possible and don’t hurry up with the next coats.
Final words
Lacquers are usually easy to work with and they are forgiving. It means that even if you make a mistake while applying lacquer, you may find a proper solution and repair it all easily. That’s why many wood craftsmen work with different lacquer finishes for their projects.
If you still don’t understand some things about lacquer coats, you are welcome to comment section. Our team and readers will be glad to help you with any questions you might still have.
- Can You Unmix Paint: Techniques, Consequences, Alternatives - February 23, 2024
- Does Primer Need to be Mixed? Effective Primer Application - February 22, 2024
- How to Make Old Paint Usable Again: Retrieving and Preserving Paint - February 21, 2024