Spraying 2K paints requires practice, skill, and technique. Whether you use it for automotive or home improvement, you must understand how two-pack paint works. Wrong techniques can lead to many inconveniences and are usually irreversible or challenging to correct.
Aside from that, working with 2K paints come with health risks, especially in the respiratory system.
For this reason, you need to learn and use the appropriate techniques and methods for different stages of applying 2K paints.
What is a 2K Paint?
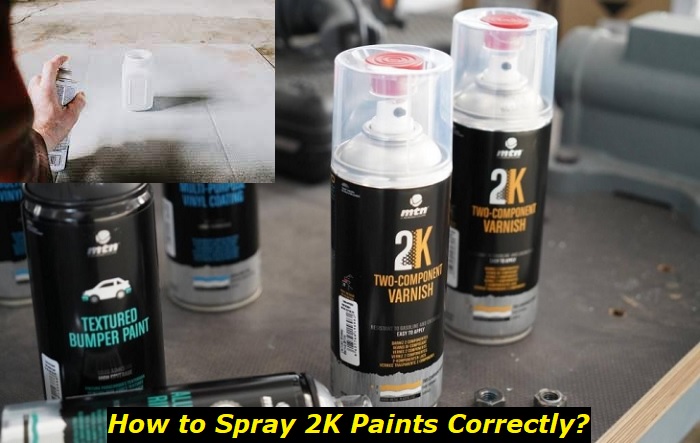
2K or two-pack paint is a type of paint with two components: a base paint and a hardener or activator. The process includes mixing the two components shortly before spraying the paint. The mixing process creates a chemical reaction that hardens the paint, forming a hard, durable coat. The activation makes the base paint more durable and allows the paint to retain its color on the applied surface for longer.
For this reason, painting surfaces always exposed to harsh conditions uses 2K paints widely.
The only problem with this paint product is it can affect your respiratory health because of its component called isocyanate. This main ingredient caused lung problems for users with prolonged exposure and without protection. As a main ingredient, it is crucial for strong adhesion, hardening, chemical resistance, and resistance to weather and temperature challenges. For this reason, you need to use 2K paint safely.
The types of 2K Paint
The two types of 2K paint are colored and clear coats. Manufacturers have different mixtures for colored and clear 2K paints. Colored 2K paints require full coverage and opacity to hide the surface, while clear coats should enhance the underlying surface. Also, 2K colored paint needs thinner coats than 2K clear paint. Unique to clear coats are the added steps of buffing and polishing.
Step 1 Preparation for Two-Pack Spraying
Preparation for two-pack spraying equips you and keeps your workspace safe. 2K paints are hazardous, and you need to protect yourself from these hazards. Also, you need to prepare the surface to ensure strong adhesion and quality of paint. You want to have properly working equipment.
For the painter
As for you, you will need an overall protective suit. 2K paints not only cause respiratory problems but skin irritation too. Get yourself a respirator with specific isocyanate filters. Wear eye protection and gloves to protect yourself from exposure.
The workspace
You need a protected space with adequate ventilation to avoid suffocation. Make sure the work area is clean and free from contaminants like dust. They could stick to the surface and affect the paint results.
The surface
You need a clean surface for proper adhesion and a surface free from dirt, dust, grease, rust, or wax. Therefore, carry out the necessary repairs. Use the appropriate cleaning agents for grease, wax, and rust. You want to avoid visible imperfections on the surface. Use filler compounds for dents or scratches. After cleaning, sand the surface as needed.
Tools and Materials to Use
You will need a range of materials before you can mix and spray 2K paint.
- Spray Gun
- Air Compressor
- Mixing cups and stirrers
- Paint filter
- Tape and masking materials
- Cleaning materials (cleaning agents, lint-free microfiber cloth, and brushes)
Step 2 Mixing Paint
Before proceeding to mixing, make sure to wear your PPEs for added protection. The first thing to do is read the manual to see the mixing ratio and pot life of the paint.
Normally, the mixing ratio of a 2K colored paint is two parts 2K colored paint, one part hardener, and 10% reducer. Remember to take note of your manufacturer’s recommendation. For clear coats, the usual ratio is four parts 2K clear coat, one part hardener, and 10% reducer.
There are three ways you can mix the 2K paint. Remember to use a clean mixing container.
First, you can precisely weigh the components with a weighing scale. In this method, you will weigh each component according to the required volume in the technical data sheet.
Second, you can use mixing containers with predetermined levels of components printed in them. Here, you fill the container with each component according to the printed lines with labels representing their ratio.
And third, you can refer to measurements through the containers. Predetermine the required ratio and mix them by stirring after filling with each component.
In most cases, the order starts with pouring the 2k paint/ clear coat. The next one is mixing it with e hardener. And the third step is to add the reducer. Stir the materials thoroughly before transferring them to the spray gun.
Also, remember to mix only the 2k paint you’ll need for applying one coat. This measure means you must mix another set for the next application.
Step 3 Spraying or application
Spray gun settings
A significant piece of equipment to prepare is the spray gun and air compressor. This stage is crucial for the outcome of spraying 2K paint.
Read the instructions from the manufacturer. Check the manual for the 2K paint you are using. It indicates the amount of pressure needed. In most cases, you will need 25 to 30 psi for a normal spray gun. But for products that require higher atomization, it may require up to 40 to 50 psi.
When choosing the nozzle size for spraying 2K paint, consider the spray gun and paint type. Usually, you need 1.2mm or 1.4mm nozzles for 2K colored and clear coats application on the automotive body. For high-build primers and fillers, use 1.7mm to 2.0mm nozzles. Make sure to look at the manufacturer’s manual for specific instructions.
Also, familiarize yourself with the spray gun parts. Locate the adjustment knobs so you know how to control the amount of paint to spray. There are adjustment knobs for setting up the fan pattern. You can do this by rotating the atomizing cap or fan adjustment.
Application Techniques
Applying 2k paint with a spray gun requires preciseness and control. For example, you must maintain about six to eight inches of distance from the fan to the surface. Another efficient technique for spraying is overlapping. This technique helps provide even coverage of the paint. Whether you use up-down or left-right movement, overlap the previous pass with at least 50% of its coverage. Spray slowly with steady speed and movement.
Also, exercise precise trigger control. It will help you regulate the flow of paint. Pull the trigger and spray at least four inches away before reaching the surface and release the trigger at the same distance away from the opposite side, where you move past the fan. This measure prevents excess paint in one area. Maintain this control until you have coated the entire area.
Multiple Coats
It’s better to apply thinner coats and have more layers than spraying the surface one time with thicker ones. Building up the surface with thin coat layers lets you achieve an even and smoother finish and prevents running and sagging of paint.
Drying Time
You will need two coats or more, except for 2K clear coats, most of the time. Provide flash-off time in between coats. The flash-off time is about ten to fifteen minutes before applying the next coat. This measure allows it to dry partially, adhere, and layer properly.
Several factors affect the curing tie of 2K paints, including the ambient condition, coat thickness, and the paint product. Thicker and multiple coats would take longer to cure. With high temperature, enough ventilation, and low humidity levels, the applied 2K paint will cure faster.
In general, 2K paints cure from 24 to 48 hours.
Step 4 Buffing and Polishing
Give your newly painted surface a good time to cure before buffing and polishing. These steps remove minor imperfections formed during the application, such as swirl marks, light scratches, and orange peels.
But when there are no noticeable imperfections to buff out, you may skip this step.
After assessing the damage, decide on the appropriate buffing compound for the imperfection. Use a buffing pad attachment and set it to moderate speed. Apply a generous amount of buffing compound and start buffing. Apply moderate pressure. With controlled motion, move the buffer overlapping one pass to another, following the contours of the surface. Assess the affected area while buffing and see its progress. Wipe off excess compound and finish with a polisher and polisher compound as necessary.
If you’re satisfied with the results, tidy up and clean the spray gun.
Step 5 Cleaning the spray gun
For cleaning a spray gun, use a paint gun cleaning agent. Disassemble removable parts, like the fluid tip, needle, and air cap. Soak these parts in a container with the cleaning solution and brush them gently later.
Clear the air cap holes, hoses, and nozzle. Use a brush or a cleaning needle for this job. Rinse thoroughly, dry, and reassemble. Before storing, test the spray gun if it is functioning.
To minimize exposure, you can use a single-use 2k spray gun container instead.
Dos and Don’ts when Spraying 2K Paints
Do:
- Use PPE when mixing and spraying 2k paint.
- Test spray on scrap surface.
- Apply thin and even coats.
- Allow flash-off and curing time.
- Clear your work area from 2k paint drips.
- Refer to the technical datasheet.
Don’t:
- Don’t compromise your safety.
- Don’t be impatient when spraying.
- Don’t apply 2K paint too closely on the surface.
- Don’t neglect the used spray gun.
To Wrap it Up
Spraying two-pack paint is an efficient coating technique that provides long-lasting durability and enhanced appearance. However, the chemicals used in this method require skills and efficient handling. You can pull off this job like a professional 2K painter with practice and discipline. But remember that constant exposure to the chemicals used in the solution can aid in developing health issues. For this reason, protect yourself and practice.
Get to know the product. Use the technical datasheet and refer to it, especially for measurement and required air pressure. With the right skills, you can apply 2k spray paint with precision.
- Can You Unmix Paint: Techniques, Consequences, Alternatives - February 23, 2024
- Does Primer Need to be Mixed? Effective Primer Application - February 22, 2024
- How to Make Old Paint Usable Again: Retrieving and Preserving Paint - February 21, 2024


