When you think of drywall, you probably think of the standard yellow, cocoon-like sheets that are used in most homes to cover holes and provide a smooth, even surface. However, there are six fairly significant levels of drywall finishing available in the construction world, they range from Level 0 all the way to Level 5. Yes, in fact, there is level 0.
These levels of drywall finishing have different significance and are used in different spaces. Most people do not know the difference between level 4 and level 5 or even when level 5 is used. In this article, we will shed some light on the major differences between levels 4 and 5 and when to use them.
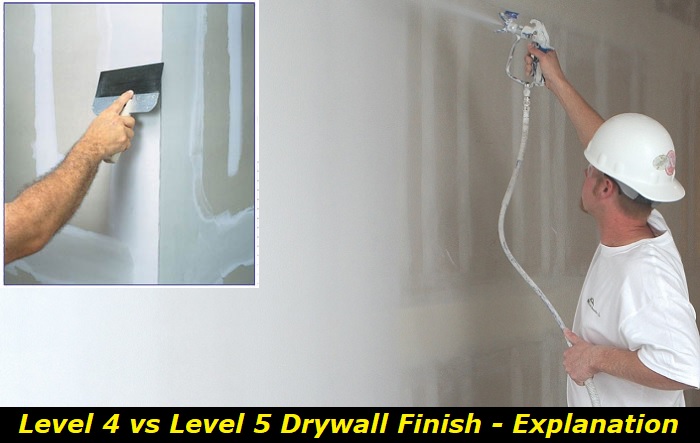
Levels? Let us explain…
Yes, when it comes to drywall, 6 different levels span from level 0 to level 6.
Level 0: refers to an installed plain drywall that has not been applied anything. The drywall has just been screwed on and has not been coated. This finish is mainly done for temporary construction that does not need a lot of work done to it. For example, sites for an annual festival. The construction is with minimal decoration and so there is no need to add an extra finishing.
Level 1: refers to an installed drywall that has been taped with drywall mud that covers any joints and openings. The taping is done to slow down the movement of flames and gases during a fire. This is why people refer to it as fire tapping. His finish is suitable for spaces that are not accessible to the public, for example, in the attic, because it is not done to perfection.
Level 2: refers to drywall covered with tape and corner trims, and fasteners are also covered with one coat of skim. It is mainly considered when the wall will be installed with tiles and the actual appearance of the drywall is not an issue, for example, in the garage, or a warehouse. The finish does not require sanding and tool marks and ridges do not matter, at this level.
Level 3: refers to an additional coat of skim from level 1 atop tape and screws. It also does not require sanding but tool marks and ridges are not acceptable. This finish is used in areas that will receive heavy wall covering like vinyl and/or heavily textured sprays. This level is not suitable if you are looking into having a smooth glossy finish, painting, or installing wallpaper.
Level 4: refers to having an additional coat on top of level three. This means that there are two coats of joint compound on all the seams, three coats applied over screws and butt joints, and corner beads. It has to be uniformly flat and even sanded.
This is the standard level of finishing in most areas. It provides an even surface for painting and installing wallpapers. You should however note that level 4 works well under almost all conditions apart from harsh lighting and you cannot paint using glossy, enamel, or semi-glossy paint.
Level 5: refers to level 4 which has been applied in a thin skim coat that covers the entire surface. For this level to be reached, the skim coat is applied first, then the primer follows. This finish results in a very smooth surface without tool marks or ridges.
This level is mainly used when you are proofing a surface from harsh lighting, or you are planning to use a glossy or semi-glossy kind of paint. This is the major factor that separates it from level 4. It actually hides the difference between the tape and drywall mud.
A point to note is that a level 4 drywall can be easily destroyed if, in level 5, a thick amount of surface paint has been used without enough heat or ventilation. This results in a very humid room with excess moisture. The effect of this is that the moisture will be soaked up by the drywall, and the tapes may then clasp and the screws shrink, leading to a big mess.
Factors that will influence your decision
- Space
During construction, as we have seen up there, different spaces call for different finishes. Therefore, in the instance that you are going for an enclosed area that is not receiving too much natural light, you will consider level 4.
In the instance that the wall is facing a window or a large glass door or glass wall, you will opt for level 5. This is because you do not want the light to illuminate the tapes and drywall mud every time the sun’s rays hit the wall.
If you are considering installing the drywall in a residential house, a classroom, or any space that is not used for any special occasions or fancy sets, you may then have to consider a level 4 finish. This is because you do not want to spend too much time and money in a public area that is not worth the resources.
If you are installing the drywall on a high-end art gallery, or a fancy luxury house, you will then have to consider going all the way to level 5. This is because of the classy finish it portrays. The smooth walls will go hand in hand with the interior decoration. You want people to be attracted to the glossy finish of the wall which will be displaying luxury on every corner.
- Cost
When debating between level 4 and level 5, we have to mention cost, this is because level 5 is why more expensive compared to level 4. For starters, you need to get a painter who is well-versed in level 5. As we mentioned earlier, it is very possible to destroy a level 4 by applying a thick coat of skim, thus you have to get a professional for applying level 5, which translates to additional costs.
Secondly, you will have to purchase a special type of skim coat that is only used for level 5. This skim coat is the one that will produce the semi-glossy or glossy finish that you desire. This is an extra cost that has to be factored in.
If you are working on a budget and looking into saving some money, it would be a great idea to just stick to level 4, but if you have the finances, then you can go ahead and opt for level 5.
- Time
Just like cost, when it comes to a matter of time, you have to put the facts on the table. Remember, level 5 is a continuation of level 4, and, it requires a lot of time to ensure that the surface is even on all surfaces during the application, and also additional time for the skim coat to dry up.
If you are working under the constraints of time, then level 4 might be a better option for you.
- The texture of the finish
The desired texture of a finish will directly determine the level of finish you have to work with. For example, if you desire to have a light texture on your wall, then you will go for level 4. If you want to end up with a glossy or enamel finish, then you will have to go for a level 5 finish. This will give you a super smooth surface at the end.
If you want to paint the drywall or install wallpaper on the drywall, then your best option is level 4, this is because the surface has been evened and smoothened enough to be able to stick well to the wallpaper. A glossy finish from level 5 will not be able to offer a favorable sticking surface for wallpaper.
Conclusion
When it comes to the design of your home, you might think that there are not many options available to you. But nothing could be further from the truth. In fact, even something as small as the level of a drywall finish you go for can have a major impact on how your home will look and feel.
We hope that this article has helped demystify the difference between the different levels of drywall finish from level 0 to level 6 and we hope now you understand when to go up to level 4, and when to opt for level 5 and that it will help you make a more informed decision when deciding on which finish is optimum for which surface.
Remember, two or more factors might collide, but the weightier one wins. For example, you might want to have a glossy finish for an office space with large windows that bring in natural light, but you have limited time and money. This means that you will just have to opt for a level 4 finish.
Talk to your interior designer and painter and dry Waller for guidance, so that you make a more informed decision, even as you put the factors into consideration.
- Can You Unmix Paint: Techniques, Consequences, Alternatives - February 23, 2024
- Does Primer Need to be Mixed? Effective Primer Application - February 22, 2024
- How to Make Old Paint Usable Again: Retrieving and Preserving Paint - February 21, 2024
