Metallic paint, also called polychromatic paint, is a kind of paint to which microscopic metal particles, such as aluminum, have been added to create a glittering look and depth to the painted surface, which particularly highlights the curves of the surface.
Selecting the ideal paint color is a crucial step in the planning process, but a perfect finish depends on how well the surface is prepared. The best-looking interior walls, cabinets, furniture, metal surfaces, and outdoor spaces all have a firm base before color is added.
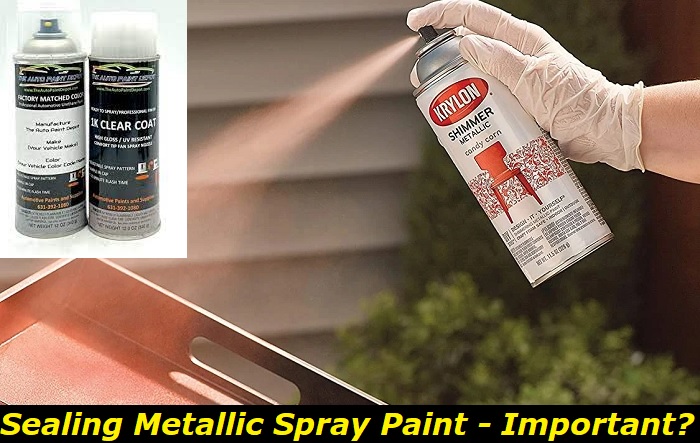
To establish a smooth basis for paint, you should usually seal the surface before painting. An additional layer of assurance that the metallic paint you apply will stick to its surface is provided by sealers. In essence, sealers are auxiliary materials that provide the surface with teeth so that paint can adhere to it. Here are the things that will be discussed in this article on how to seal metallic spray paint:
- Advantages of metallic paint
- Paint sealers explained
- Reasons for using sealers
- Applying sealer
- Applying the metallic paint
- Color sanding when applying a clear coat
- Benefits of clear coat
Why Is Metallic Paint So Popular?
One of the primary benefits of metallic paint is that it offers some protection against minor damage and discoloration resulting from ultraviolet rays. Some metallic colors provide color changes that make it simpler to disguise minor flaws. In essence, Dents, scrapes, and other minor flaws are more noticeable in solid colors.
Metallic paint additionally provides an aesthetic advantage. It enhances the curves and lines of the painted surface while also giving effects, brilliance, luminosity, and a variety of color customization options. Metallic paint improves both the visual appeal and value of the painted item.
What Are Paint Sealers?
Sealers are closely linked to primers. They are thinned-out primers designed to render a porous surface impermeable. Their basic function is to prevent knotting and mold from appearing inside the finish layers; they are also applied to conceal them. There are reactive resin and epoxy-based products, as well as oil-based sealers. Strong petroleum solvent solutions can be used to clean the majority of these products.
Whenever you are working with the following substrates, use sealers:
- Unfinished woods with exposed grain, like oak and maple
- Bare wood that allows the paint to bleed through or become discolored, like redwood
- Large patches of repairing plaster or joint compound for wallboard
- Surfaces made of masonries, such as unglazed brick, cinder blocks, and concrete
- Metal components (use an oil-base sealer that has rust inhibitors to shield against corrosion)
- Any surface that does not have any paint, including drywall, fresh plaster, and previously stripped woodwork
Why Use Sealer?
A sealer is a thinned-down primer, as was previously mentioned. However, that does not imply that you can thin your primer in any way you choose. The companies that develop the paint decide the standards, not you.
The technical data sheet, often known as the TDS, is available online in pdf format and contains these rules. You only need to enter the type of paint you have to get information about flash times, tip sizes, and paint mixing instructions.
Why can’t one simply apply their base coat over the top without using a sealer? You could, but only after fine-finishing the priming surface with a grit of up to 800. However, if you are using a sealer, you should only have to raise it to 400 since once the sealer is applied, it will fill in the little scratches.
It will also provide protection by forming a barrier between the primer and the metallic paint so that it does not chip as quickly when something hits it.
How to Apply Sealer
Paint Sealer is available everywhere at your nearest paint store. To start off, you should mask or tape the places you do not want the sealer to touch. Additionally, you should use a primer sealer gun, which is made for this purpose but can also flawlessly spray base and clear.
The goal is to apply the sealer as smoothly as possible because if you do not have a decent sealer gun, the metallic top coats that come after will just settle into a subpar substrate or surface. One layer of sealer will be plenty; keep in mind that the sealer gun is laying the foundation. You want this layer to be nice and smooth. The paint’s metallic bits will fall onto a rough surface if the base is not flat enough.
Apply the sealer to the area, making sure to cover it fully, and wait for it to flash. The term “flash” alludes to dryness; when the region appears dull, it is an indicator that the sealer has completely flashed. It is now ready for its next coat.
Spraying the Metallic Paint on the Sealed Area
The next step is to spray the base coat, and if possible, consider adding some extra slow reducer; this will keep the paint open for much longer, ensuring that it is not dry when it meets the surface. Dry paint causes stripes because it changes direction and texture when it drops on a surface.
Most paint stores will provide the paint, but you must apply the reducer yourself. After loading the extra slow paint into the sprayer, set it to 18 to 20 psi and spray at a moderate speed moving side to side with 75 percent overlap over the surface.
As you proceed, you will note that the metallic paint applies wet and has a glossy sheen to it. Allow this layer to flash for about 10 minutes before applying the clear base coat. To avoid striping, do not pour too much on the surface.
A thing to note is that if you have the right mixture for the paint and the right spray gun, then your work will be a lot easier and faster.
Can You Color Sand After Applying Clear Coat?
Sanding a metallic coat before applying a clear layer is equivalent to placing the cart before the horse, as they say. The clear coat protects the metallic coat and prevents ruining the paint’s metal particles when you color sand. The best option is to wet sand once the clear coat has been applied.
Once you spray the final coat of metallic paint, use at least three coats of clear prior to color sanding. However, ensure the clear coat has completely dried before proceeding. Color-sanding entails smoothing and flattening out the clear coat before buffing. It results in a mirror-like gloss on the painted surface.
The wet layer in between the clear coat and the sanded paper aids in smoothing out any defects or particles in the paint when color-sanding. To make the surface shine, you polish it with polishing solutions to erase any blemishes left by the wet sanding procedure.
Applying more layers of clear coat does not result in a glossier surface; thus, there is no need for you to apply more than four applications. Wait a minimum of 20 minutes after applying the first layer of the clear coat before applying another coat. Allow the last coating to sit overnight. Wait at least 24 hours before attempting to buff.
Advantages of Applying Clear Coat
A clear coat is paint that contains no pigmentation or color, and the following are the advantages of using it:
- It contains UV blockers, which minimize fading by shielding the metallic painted surface from the sun’s UV radiation.
- Spotting and superficial blemishes on the coated surface can be easily removed with polishing.
- It prevents the oxidation of colorful base coatings, particularly metallic ones.
- It shines up the painted area, making it look better.
- It extends the life of the base metallic paint.
Final words
To sum up, metallic paint is useful if you want a high gloss and dazzle on your automobile, skateboard, motorcycle, boat, or guitar. It is used to cover a variety of surfaces and is quite popular.
Metallic paint, commonly known as polychromatic paint, has metal particles added to it to give a dazzling look. Apart from the looks, metallic paint also adds a level of protection from the effects of UV rays while disguising minor scratches and defects on the painted surfaces.
In most cases, you would love to have a smooth, shiny finish; that is why it is a must to seal the paint. Sealers offer an added layer to allow the metallic paint to adhere firmly. These sealers are thinned-out primers that prevent molds and knots from developing in the finished paint job.
Sealers help to provide an added protective barrier so that the paint does not easily chip on impact while filling in the little scratches that come about after sanding. Before adding the base coat, you should apply the sealer evenly and smoothly to cover the surface.
Once you have added the metallic paint of your choice, it is important to add a couple of clear coat layers to add some protection and gloss to the finished paint job.
- Can You Unmix Paint: Techniques, Consequences, Alternatives - February 23, 2024
- Does Primer Need to be Mixed? Effective Primer Application - February 22, 2024
- How to Make Old Paint Usable Again: Retrieving and Preserving Paint - February 21, 2024


