You may know that nearly all wood finishes will have some fumes that may smell unpleasant. Some of them are toxic and dangerous for a person.
You should be careful when working with any chemical products, otherwise, you can just feel sick or dizzy, poison yourself, and will need medical help.
Danish oil is known to be one of the most natural types of wood finishes. It has been used for decades, and you may think that there are no chemicals at all. But you are wrong.
There is no certain formula for how to prepare Danish oil, so manufacturers are free to make any changes in their recipes.
Today we’ll cover such things:
- What’s the smell of Danish oil?
- Why does it keep smelling even after years?
- How to get rid of the Danish oil smell?
- Can Danish oil fumes be dangerous?
- How to work with Danish oil properly?
Let’s get started!
Danish oil smell – what does it smell like?
Originally, Danish oil smells like a strong chemical. But it tends to stop stinking in a week after being applied if you do everything right. The smell may seem too sharp at first, but then it should get lighter and disappear in the end.
If the smell doesn’t disappear, you probably do something wrong or you just have a bad product. Some manufacturers’ Danish oil tends to smell more than the products made by other companies.
The smell of the Danish oil may resemble something spoiled or rotten. Especially if the oil has been stored for a long time.
It’s not always bad that your oil smells like hell. You will just be sure that the producer used more chemical components than should be included in the oil. But it doesn’t mean that the oil is bad and inefficient.
If you feel a very sharp odor, better avoid using Danish oil you have for any wooden surface that is going to be in contact with food (like chopping boards, tables, kitchen units, bowls, etc.)
What is Danish oil made of?
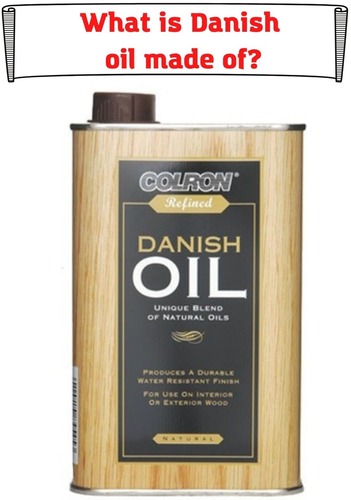
Wiki says that Danish oil may be produced of tung oil or polymerized linseed oil. Also, it should contain around one-third of varnish.
So, manufacturers can basically include everything they want to Danish oil and still call it Danish oil because there are no decent instructions of how to make one.
Here are some distinctive features of the oil:
- it’s a hard drying finish that cures completely on the wooden surface;
- it brings water resistance to wood, so it’s often used for kitchen units;
- it should be applied with numerous coats with proper drying time;
- it should be applied in a well-ventilated room or outside for health reasons;
- the oil gives a satin finish, making the wood a little darker than it originally was;
- the finish is pretty hard and durable, it can be covered with poly or other products.
As you see, the properties of Danish oil are really cool, so mane woodworkers still use it. They prefer this oil to many wood finishing products that are available today.
And they agree that Danish oil can smell at times when being applied, but you will just need to follow protective measures to protect yourself from any problems.
How to use Danish oil on wood?
Prepare the wood so that the surface is even and is ready for the finish. Final sanding is important, use fine-grit sandpaper to make the surface look great.
Clean the surface thoroughly using some rags. You may use some mineral spirits to get rid of grease and dirt, but it’s not necessary.
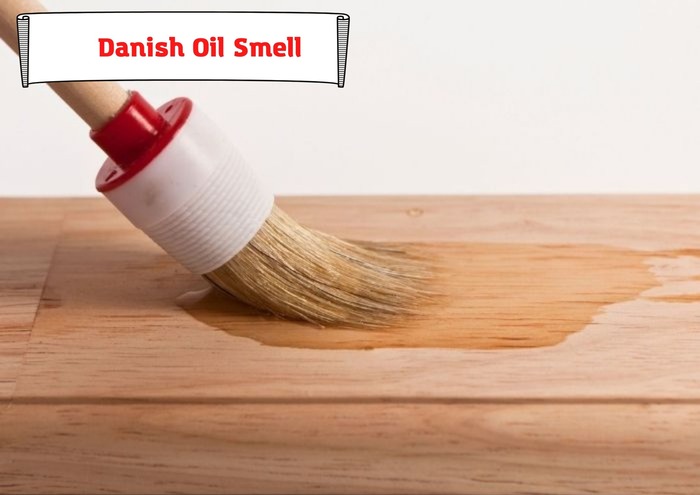
Apply a thin coat of Danish oil with a rag or a brush (whatever you like) and leave it for at least a day to cure.
Apply at least two more thin coats leaving them for at least one day each. Then look at the project and decide whether you need more coats.
Sanding between each coat is not necessary, but sanding beащку the final coat is recommended with a fine-grit sandpaper.
The final coat should be left to rest for at least 3 to 7 days depending on the temperature and humidity in your workshop.
Applying any kinds of topcoats is possible only after 7 to 30 days. If you apply poly or something earlier than that, the topcoat won’t cure properly and will show white stains.
How to avoid Danish oil smell?
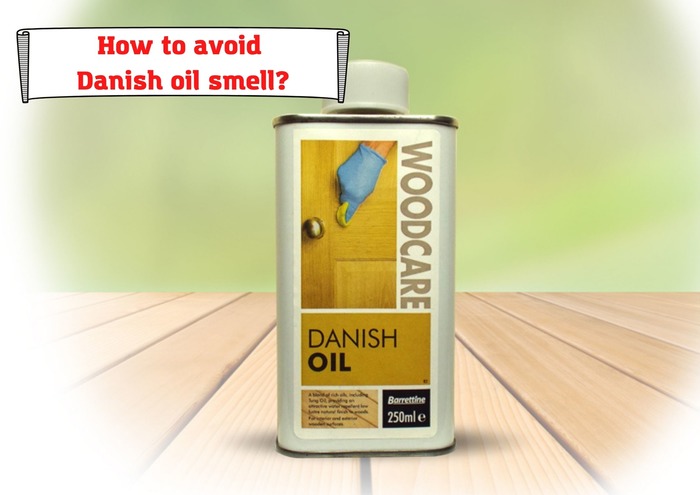
Here, we are giving some tips on how you can avoid bad smells from your project. It’s not only about the proper application, but about the choice of products.
Always buy more expensive Danish oil and go for the manufacturers that you know well. If you buy cheap products, they will probably smell awful.
Make sure you know how to apply Danish oil. If you wait for just 3 or 5 hours before applying the next coat, the previous coat won’t cure and will not allow the current coat to cure well eventually.
Ventilate the room permanently when you are dealing with Danish oil and when the project cures, otherwise, the fumes will accumulate in one place.
Always apply thin coats of Danish oil to avoid the smell. If you apply thick coats, they won’t have time to harden and cure before you put the next coat. This will lead to some moisture buildup between coats and will form a bad smell.
Burn or soak in water the rag you use for the application of Danish oil. This will help you avoid a bad smell in your workshop because the oil will never cure in a rag.
Why does my project smell so bad after Danish oil?
Another problem is when your woodworking project keeps smelling bad in a month or even in a year after you applied Danish oil.
We have some explanations:
- You haven’t given enough time for the oil to cure. As a result, the oil was sealed between coats and will smell for years.
- You bought a cheap product that was prepared with bad chemicals. This won’t allow the product to cure completely even after a long time.
- You applied poly or any other topcoat suitable for Danish oil too soon. It means that the oil didn’t have a chance to cure completely and it keeps giving some fumes.
- Your wood was wet when you were applying Danish oil. This sealed water inside and this water doesn’t allow the oil to cure.
- You applied very thick coats of Danish oil. Make sure every other coat is quite thin to cure in about one day after application.
- The conditions in your workshop weren’t optimal when Danish oil was curing. That’s why it still smells because it didn’t have a chance to cure completely.
In most cases, Danish oil will smell bad when it didn’t cure. Even after years of being applied, it can still release some fumes and even be dangerous for you if you use it on surfaces that contact with food.
How to get rid of the Danish oil smell?
Getting rid of a bad smell after applying Danish oil isn’t that easy. You will need to choose one of the three ways: waiting, reworking, or covering with something.
If you choose to wait, you will probably need to wait for years. A warm air-gun or even a hairdryer could help Danish oil cure faster, by the way. But it doesn’t work in all cases.
Reworking your project is the most obvious idea. If you now understand what you did wrong, the best idea is to sand down that Danish oil and apply it once again but using the tips from our article. Also, you may want to buy another can of oil just in case it was a bad product.
You may also try to cover your stinking Danish oil with polyurethane. This may help, especially if the Danish oil smell isn’t very intense.
Can Danish oil fumes be dangerous?
Danish oil isn’t usually a toxic finish. But sometimes manufacturers can add some components that release toxic fumes when curing.
We don’t recommend working with any wood finishes without protective equipment like glasses and respirators or a full-face mask. We don’t recommend working with Danish oil in a poorly ventilated workshop.
If you stick to these simple rules, you won’t be poisoned with Danish oil or any other wood finish.
Final words
As you may know, we love working with wood and we always have our own approaches to using wood finishes. And we aren’t fans of Danish oil for many reasons. Though we use it sometimes and cover it with poly or other topcoats to avoid the smell.
Danish oil shouldn’t smell very bad, the intense odor should make you think something is wrong with the project. You will need to figure out what is wrong and what should be fixed.
Never keep inhaling the fumes, always get fresh air and think about what you can do to avoid poisoning. This will help you save your health and complete a wonderful woodworking project.
- Can You Unmix Paint: Techniques, Consequences, Alternatives - February 23, 2024
- Does Primer Need to be Mixed? Effective Primer Application - February 22, 2024
- How to Make Old Paint Usable Again: Retrieving and Preserving Paint - February 21, 2024
