If you are painting your house, you will need to buy rollers, brushes, tapes, paint, and other tools and materials. The painting job can be fun and truly gratifying when done right. On the other hand, painting can leave you frustrated and lost on what you did wrong. In certain instances, you may find yourself tearing down the paint and seeking the help of a professional. This can be very expensive, to say the least.
In this article, we take you to a friend’s house where the paint job on the walls was not breathtaking. You may have noticed along the ceiling edges or corners that the shade in the corners and top edges was darker than the rest of the wall. You may have wondered why your friend hired a quack for the paint job. Months or years later, you want to paint your house, and to avoid getting a shoddy paint job like your friend; you are out here researching why cut-in paint turns out darker than rolled paint.
You are at the right place. Here, we discuss why the cut-in paint can be darker than the rolled paint. We further look into how you can fix this issue. But more importantly, we give you tips on how you can avoid this. First, let us understand what cut-in paint is.
What is cut-in paint?
Cut-in paint is a technique painters use to paint tight edges or corners in a room. These tight edges can be ceiling lines, around the windows, skirting boards, or edges of the wall. In short, a cut in painting is done where a roller cannot reach.
How is cut-in paint done?
As you may be well aware by now, the brush you use is just as important as the paint you buy. Investing in a good quality brush goes a long way to ensuring you get exceptional paint job results. To learn how to avoid the darker cut-in edges, it is imperative that you appreciate how cut-in painting is done;
- Start by holding your brush the same way you hold a pen when writing.
- Dip the brush into the paint. Only 1/3 of the bristles should get wet.
- As you do during normal painting, pat the brush on the side of the can, ensuring that you don’t drag the brush on the edge of the can. Patting the brush is done to ensure all bristles get paint soaked.
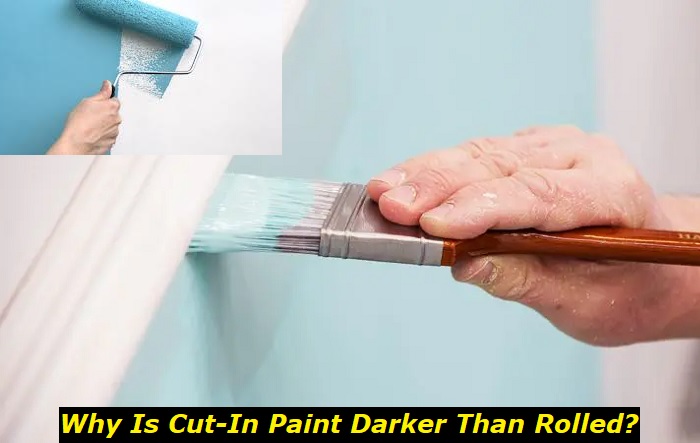
- Apply the paint on the wall and close to the edge. Do not flush against the wall. The idea is to transfer the paint onto the surface before spreading it. Go back to the spot you started and start spreading the paint. Glide the brush at a 45-degree angle. When done slowly, the cut-in line will be skewed. The faster you glide the brush, the neater your work will be.
Cut in paint darker than roller paint problem
This widespread problem has been bothering novice painters and DIY enthusiasts. It is a problem whose solution varies from one expert to the next. But when you listen to all the expert and DIY ”noise”, you will come up with the solution to the problem.
In most instances, people who report this problem say the cut in paint is way darker than the roller, and even a second coat doesn’t seem to help much. The problem is likely to be experienced with some rather than all paints. Grey and green paint are some of the paints where darker cut-in issues might be encountered the most.
The darker cut-in problem happens mainly because of a layering illusion effect. The brush you use also carries more paint than a roller, which means it applies a thicker coat than the roller.
How to fix the problem
The solution to a conspicuous cut in line can be easy but sometimes tough to solve. To solve this issue, you will need to invest yourself in a number of ways;
- The more layers of paint are applied, the more even the surface appears. If you have applied a single layer of paint and the cut-in is conspicuously darker, a second coat will likely solve this problem. The second coat, when done right, mostly solves this darker cut-in problem.
- In some instances, it has been shown that while applying the roller, the painter applied it too thinly, bringing out a lighter shade on the wall than the cut-in paint. For consecutive applications, apply more roller paint to try and even out the difference between the cut-in and the roller. Successive coats of paint can be done until the fourth coat.
- On applying the second coat and the consecutive coats of paint, feathering out the cut-in goes a long way toward harmonizing the color of the wall. Feathering out the paint removes the apparent line that the cut-in brush leaves. The roller runs over the feathered-out section with a thicker paint layer, making the problem disappear.
- In the case where the cut-in is way darker and any of the above fixes don’t work, it may be time to consider scrapping the entire paint and redoing the whole job. The problem may be more pronounced because of using the wrong primer or low-quality paint. In case you are painting pastel coats on the wall, it is imperative that you use high-hide white primer.
How can one prevent the ‘cut in darker than roller paint’ issues?
- If you have heard of the cut in paint becoming darker than the roller one, you will want to take every precaution to avoid having it in your home or office. Below are a few tips on how you can do a perfect job and prevent this problem.
- It goes without saying that cheap and poor-quality paint gives shoddy results. Even the most masterful painter will present you with less-than-perfect results if you give them poor-quality paint. Again, cheap is expensive as you will find countless faults, including a darker cut-in than the roller.
- Invest in the right tools. As mentioned earlier, use the right roller and brushes for the job. Contrary to popular belief, small brushes are not ideal for cutting in because they make it difficult to achieve a straight line.
- Mix all your paint and avoid mixing batches, especially when it comes to cutting in and roller painting. While the difference might negligible or almost inexistent when in the gallon, the contrast can stare right back at you when you paint the cut-in. If you are to use a total of 4 gallons, look for a 5-gallon bucket, pour all four gallons of paint in the bucket, and mix well.
- Overlap the cut in line with roller paint. Typically, we start with cutting in and then rolling the roller to complete painting the wall. Some experts advise using a 2.5″ brush and painting between 4 and 6 inches from the ceiling. As you move the brush away from the ceiling, feather the paint to increase the chance of roller and cut-in paint marrying perfectly. This leaves enough allowance to allow the roller to cover the cut in line. When you come with the roller, try and paint as close as possible to the ceiling covering at least two inches of the cut-in paint.
- Immediately after cutting in, roll in. This allows the cut-in paint and that of the roller to mix and remove any difference in shade that would otherwise arise if you let the cut-in dry first before coming with the roller.
- Prepare the surface well before you can start painting. Sanding and ensuring the wall or surface is smooth is one of the reasons why many paint jobs suck. Invest in ensuring the wall is well sanded, any mold removed, and the wall repaired to avoid getting lousy paint results. Prime the wall, and, where necessary, use a filler to remove any defects.
- All the other painting job tips and precautions apply when you are working hard to avoid cut-in issues. This means the painter should avoid using artificial light when working. The painter should prepare first before commencing the paint job. Have the scaffold or the ladder ready. And buy all the paint and other materials before starting the job. Beginning the cut in painting and then the paint running out will result in embarrassing results.
Conclusion
There are very many things that can go wrong when you are painting. One of the problems that can crop up and leave you frustrated and cost you time and money is the cut-in line turning darker than the roller paint. Of course, there are times you will discover this after you are already done painting. We have given you cool tips on how you can solve this problem.
If you haven’t started on the project, you should use the above tips to avoid this problem altogether. These tips will save you money and time, and you will end up with exceptionally cool results.
- Can You Unmix Paint: Techniques, Consequences, Alternatives - February 23, 2024
- Does Primer Need to be Mixed? Effective Primer Application - February 22, 2024
- How to Make Old Paint Usable Again: Retrieving and Preserving Paint - February 21, 2024


