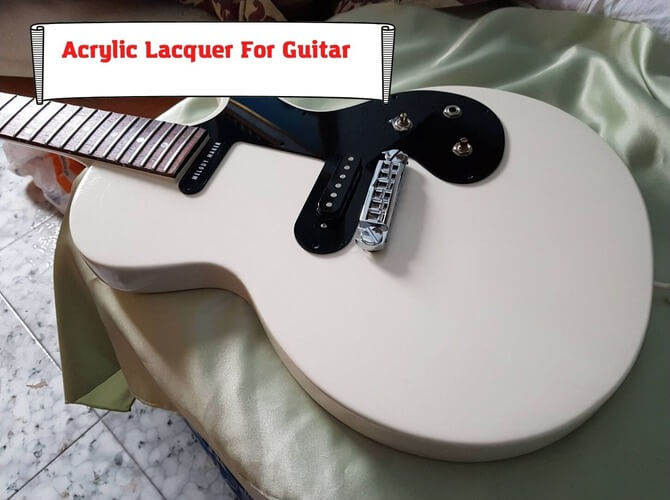
As you may have heard, many producers use nitrocellulose lacquers to paint guitars. This is said to be classics. But when you want to remaster your old guitar, you may have a question about whether an acrylic lacquer can be a better thing. Today, we decided to find out if you can use acrylic lacquer instead of the nitro one and still get good results after some days of hard work.
To answer quickly, yes, you can get an acrylic lacquer for your guitar and it will be a super cool decision if you do everything right. Nitro is a real classic for guitars, but it doesn’t do much better than old good acrylic paint. And now we’ll try to figure out why exactly acrylic lacquer is a good choice, why you should get it for your guitar and why it is even better than the new catalyzed lacquer.
Here are the questions we will discuss today:
- Why is nitro lacquer worse than acrylic one?
- How to paint your guitar with acrylic lacquer?
- Main mistakes when working with lacquer.
- Preparing your wood surface for acrylic lacquer.
- How long will the lacquer survive?
Let’s get started!
Is acrylic lacquer actually better than nitro?
In terms of design, it’s very hard to say which lacquer is better. We wouldn’t recommend catalyzed lacquers for any DIY projects because they are really hard to apply correctly. And because of this, they may look worse than other options when applied incorrectly. But if you choose between nitro and acrylic lacquers, they are both OK for a DIY job with guitars and any other wooden objects.
These lacquers have been used in the automotive industry to paint cars. Nitro was used back in the 1950s, then many producers turned to acrylic lacquers because they are better for steel surface and plastic. But the fact that automotive producers choose these types of paint says a lot about the durability and practical features of the materials.
We found out that acrylic lacquers have such obvious advantages:
- wonderful adhesion with any kinds of wood and metal – you can paint literally everything;
- great resistance to water – no way the water will damage your guitar in the future;
- good resistance to light, UV, air, and other factors that can destroy other types of lacquers and paints;
- the color doesn’t yellow over time which is the thing with nitro – it can yellow and change the color;
- the price is apparently more pleasant when you buy acrylic lacquer with basically the same properties as nitro lacquer;
- acrylic paints are much safer than nitrocellulose ones, they don’t produce that much toxic fumes in the process of drying;
- also, they are faster to harden, so topcoats can be applied sooner and this saves your time;
- durability is another factor to remember here – acrylic lacquers are usually more durable than nitro ones.
Also, we may remember another advantage: acrylic lacquers are less reactive with any objects that can stain paint. For example, a guitar stand that is made of painted steel may easily change the color of nitro lacquer, but it won’t work that way with acrylic paint. It means that your guitar will stay beautiful for a longer time. Of course, all the advantages depend much on whether you stick to the rules and instructions when applying each coat.
By the way, both acrylic and nitro lacquers can be applied with the help of a brush or just sprayed over the surface. They are sold in openable cans and also in spray cans. The latter ones are much thinner and will require more coats to form good protection against water and sun.
How to apply acrylic lacquer on your guitar?
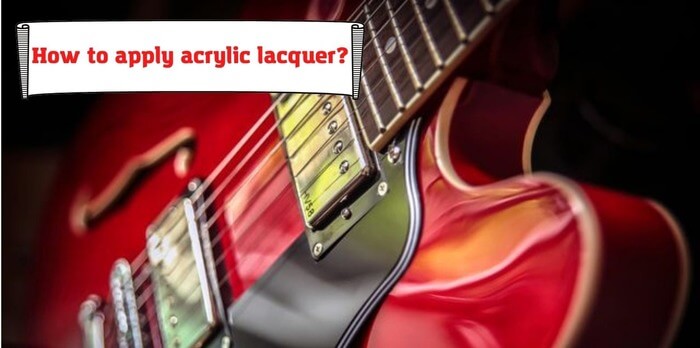
First, you will need to prepare the surface. The best option will be to clean off all other coats and paints. Cleaning your guitar to the bare wood will require taking it apart. You aren’t expected to paint a guitar without disassembling it. After that figure out which parts should be painted and prepare them. You may use sandpaper or any other instruments to peel off old paint. But be careful with this – don’t damage the wood. You may need an orbital sander to make things much faster.
Before applying any paint, be sure to sand the wood with 220-grit sandpaper to prepare the surface. Then clean the surface of all mess and get ready for the action. Here are the steps you should take:
- Take some grain filler if you need to ensure an even and smooth surface, repair some cracks and scratches.
- Use mineral spirits to wipe off all the grease and oils you can have on the guitar.
- Apply some primer. You will want to use primers because otherwise, you will have to redo the job in just a year or two. Two or three coats of primer will be enough.
- Ensure that you don’t paint in a room with a lot of dust. Think about ventilation.
- Paint your guitar. If you use a brush, then 3 to 5 coats will be enough. Each coat should rest for a while (4 to 8 hours) before applying the next coat. If you use a spray can, 7 to 9 coats should be painted.
- You may want to apply a clear coat – it’s highly recommended. It consists of another 3 to 4 coats of paint that you can buy in the same place where you bought your acrylic lacquer.
- Polish the finish to make it look just perfect. You may use the wet-sanding technique for this.
After that, you will want to wait for a day or two until everything cures completely and may start assembling your guitar. The painting process will take up to a couple of weeks if everything is done according to instructions. You will need to ensure that your guitar rests in a dust-free room, so creating a special box with optimal temperature and humidity will be a must for you. Unfortunately, in this article, we can’t tell you more about painting techniques because we’ve promised to tell you about acrylic lacquer.
What kind of acrylic lacquer should I choose?
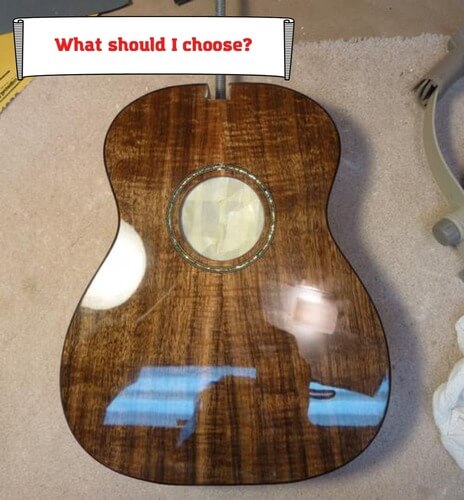
When it comes to choosing lacquer for repainting your guitar, it’s recommended to go for a water-based material. It won’t yellow, it’s easier to apply, and it’s safer to use in all DIY projects.
If you don’t know whether you want to choose an openable can or a spray can, go for a spray one. But we recommend buying one more cheap spray paint and testing it on some test surface. This way, you will learn how to apply thin coats without any excessive drops or uneven coating. Only after that start applying your acrylic paint to your guitar.
In terms of brands, we shouldn’t give you any recommendations because the readers will think we are advertising some companies. But we’ll tell you that the old good principle “the more expensive, the better” works quite well for choosing appropriate paint for guitars.
Make sure you buy all you need, not just the lacquer. You will need some sandpaper with different grit levels, a primer, some cloth, a brush, some spirits for cleaning, and some other products depending on the technique you decide to use.
Acrylic lacquer lifespan – what to expect?
Usually, acrylic lacquers live between 5 and 10 years. But this period may change depending on the way you use your guitar. For example, a home instrument that you only take out of its cover on holidays and big days will stay beautiful for dozens of years. But the guitar that is taken to daily concerts is transported in your truck bed, and occasionally gets under the rain may live up to one or two years.
The duration of acrylic lacquer depends much on whether you applied it correctly. If you have made a lot of mistakes because it’s your first painting project, just bear in mind that the paint may chip off or get scratched quite soon. But you will have to consider that mechanical damages will destroy even the most professional paint coating in the world. If you throw your newly painted guitar over asphalt road or try to kick someone with it, the lacquer may look bad after that.
Popular mistakes people make when they deal with acrylic lacquer
- Buying cheaper paint. It will be dangerous for your health and very poor in terms of the final design.
- Not ventilating the room where you paint. This may lead to problems with health such as fainting, feeling dizzy, feeling sick, and even vomiting. Don’t poison yourself!
- Not using primers. If you apply acrylic paint right over wood, it won’t last long. Those guys who invented primers did a good job and why not just use their inventions?
- Making thick coats. When you make thicker coats, they won’t be smooth and even. In the end, you will just sand all the paint off the guitar and make it once again with thinner coats.
- Using thick paint without thinning it. If you have bought lacquer in an openable can, buy something to thin it. Otherwise, you will have a lot of brush tracks on your surface.
- Hurrying up. Don’t hurry up much because in this case you will just mess up all coats and will have to redo the job.
Final words
We believe that acrylic lacquer is actually better than nitro lacquer for your guitar. It’s durable, cheap, safe, and really good-looking if you do everything right. So we would go for acrylic paint if we needed to repaint our guitars. Want to experiment with other types? Go ahead, but remember that you will need a lot of experience or at least a good teacher around you to help with important stages.
- Can You Unmix Paint: Techniques, Consequences, Alternatives - February 23, 2024
- Does Primer Need to be Mixed? Effective Primer Application - February 22, 2024
- How to Make Old Paint Usable Again: Retrieving and Preserving Paint - February 21, 2024


