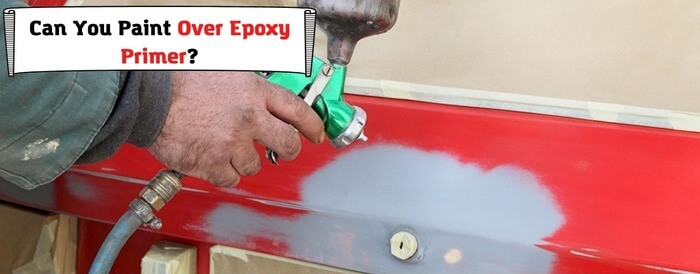
There are many products in the auto-spray and metal works industry. There are so many that sometimes DIYers find it confusing to use some of them. Epoxy primers are one of the products.
Many DIYers often wonder if they have to sand epoxy primers before painting over them.
This article gives a detailed answer to the question by discussing precisely what epoxy primer is and whether or not to sand it before painting over it. It also discusses rules you want to remember when choosing to sand it.
Read on to find out!
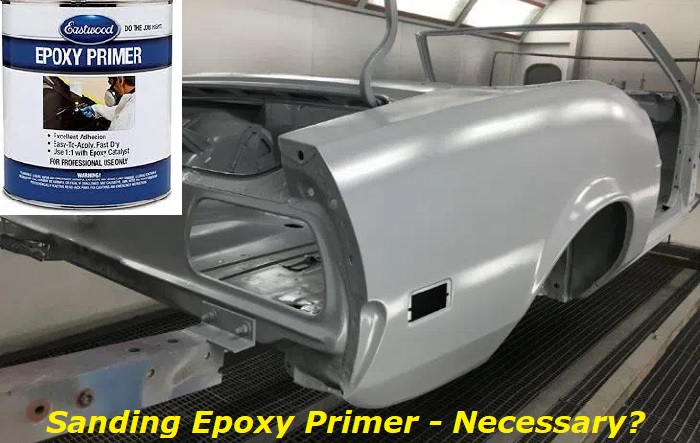
Do You Have to Sand Epoxy Primers Before Painting?
No, you do not have to sand epoxy primer before you paint over it. Some may claim that you do but understanding what epoxy primers are will help you appreciate that they are non-sandable.
Epoxy primers are usually direct to metal primers that can also be used as primer-sealers underneath your base coats or top coats as they dry faster and have a great color hold out.
It is a sealer that is designed to be applied to bare metal. The purpose of spraying the epoxy primer on the bare metal is to seal the cracks and tiny holes that could affect your finishing.
Apart from acting as a sealer to seal holes, epoxy primers also help to improve the bonding of the top coat to the bare metal. It is designed to be painted on top.
Another reason you do not have to sand the epoxy primer before painting it is that the primer is very thin. Sanding may remove the seal that you have accomplished already by spraying.
When Can I Sand Epoxy Primer?
You can sand epoxy primer if you plan to coat the metal surface with a 2k primer for a high build. But you will need to sand it if you plan to spray a 2k high-build primer over the epoxy primer. Your sanding will improve the adhesion of the 2k high-build primer to the workpiece.
As much as possible, you want to avoid using a power sander. But if you have to use one because the work surface area is too large to work manually, you will need a dual-action sander turned on at its highest peak.
Attach a 180-grit on the Dual Action sander to go over the surface of the area you will sand. You want to take the Dual Action sander and move it vigorously quick over the area to sand it down to give it a rough surface so that your 2k primer will stick to it.
When you sand the epoxy primer, you will end up with the epoxy primer building up in a spot in the paper. If you keep sanding with the paper, it will put swirl marks on the surface, which will be evident under the finished job. It gums up pretty well. Wet sanding is worse. You want to avoid that by all means.
Once you start seeing swirl marks in your primer work, it would be best to stop immediately and change your paper. What you want is a nice clean, sanded surface.
Rules For Sanding Epoxy Primer
Ordinarily, you do not have to sand epoxy as mentioned earlier. After sanding your metal surfaces, you want to brush off the rust and spray the epoxy primer.
If the product you are using as a top coat does not adhere well to epoxy primer, you can sand the epoxy primer to get a slightly rougher surface that will help promote better adhesion.
Below are some important rules you must abide by if you wish to sand your epoxy primer;
Mix The Epoxy Primer Accurately
Before mixing, you want to shake the container well to make the ingredients very integrated. After that, the next thing you want to do is mix your epoxy resin. Many epoxy primer products usually use the 1:1 ratio. You want to mix the epoxy and the catalyst or the hardener in equal parts.
Getting the step right is very important for a clean seal. It would be best to use a mixing cup for accuracy. Although tapered, these mixing cups come with measurement and ratio markings that can help you achieve accuracy for a great result.
Never Spray Without Straining the Epoxy Primer
After mixing, you must use a filter to strain the epoxy primer of clumps or any unwanted particles in the mixture. Spraying immediately after mixing can lead to a clog in your spray gun if the clumps block the way.
While a clogged gun may seem very easy to deal with, it will cost you time. You will have to work on the same job with different curing times since you cannot spray all the parts of the car at the same time.
Check Your Pattern Before Spraying
Never spray test on your workpiece. This is very important because any mistake on the workpiece will consume time and other resources to correct.
It would be best to keep a test panel in the booth for testing the spray before spraying.
Some people spray on the wall instead of using a test panel. That would not be the best thing to do because it is bad practice and will look messy. Another reason you want to use a test panel is that the test panel is metal like your workpiece. This makes it a great test piece to see how the primer will look on your workpiece.
Until you get a good pattern like a squashed football, you want to keep testing and adjusting your gun settings. Once the pattern looks good, you can go ahead to spray.
Use a Single Wet Coat
Apply the epoxy in a single wet coat. You can do this by starting on the roof. You want to work your way to the middle with a 50% overlap as you go. Working with a 50% overlap will keep the coat even and wet.
You can easily achieve this by using a gun with a 1.3 fluid tip. It would be best to hold the gun at about 5 inches from the surface of the metal you are working on.
After working the roof, it would be ideal for you to move to the quarter panel while working your way up to the sail panel.
You want to follow that by working the other quarter.
Coat the doors and every other surface with the same coat of epoxy at a 50% overlap for consistency. Remember that although the epoxy primer is for priming, it also works great as a sealer and promotes the adhesion of the paint.
After spraying, allow the primer to cure before applying your top coat. Usually, the curing time is no less than 30 minutes which is about enough time to clean the spray gun and prepare it for the next coat.
You can refer to the information from the manufacturer to know how much curing time should be allowed between the application of the epoxy primer and the top coat.
But ideally, the longer the curing time, the less adhesion you might get. If you wait too long, you may have to sand the epoxy primer for a rough surface before applying a high build primer to be followed y your base and top coats.
Sand Lightly
Since a single wet coat is all you need, it would be best to use a block sander to sand the primer. Avoid using power sanders, as these will not allow you to monitor how much of the primer has been taken off. It will also increase the chances of scraping off the epoxy primer.
But using a block sander will prevent that problem. When you use a block sander, you will have better control over how much sanding you want. You want to use 320-grit sandpaper. Anything more than that will clog up. 320-grit sandpaper is the paper that clogs up the least.
You also want to have a brush with you to clean it off after doing a couple of strokes. After priming, you can go on and apply your top coats. Do not wait more than 30-45 minutes between applying the epoxy primer and the top coats.
Note:
Always wear a mask and other protective gear when spraying your epoxy primer and other paint products. It is also important to work in an enclosure with constant airflow. Working in a confined area like a booth would be best, as working in an open space may expose your metal work pieces to moisture and other elements that can ruin your job between the curing times.
Final Thoughts
Again, sanding epoxy primer is not necessary. The epoxy primer is designed to be non-sandable. You are meant to apply your clear coat after 30-45 minutes of curing time over the epoxy primer.
But if you intend to apply a high build primer over the epoxy primer, such as when the clear coat is a product that does not adhere well to epoxy primers, you can sand lightly before applying the high build primer. The sanding will aid the required bonding.
- Can You Unmix Paint: Techniques, Consequences, Alternatives - February 23, 2024
- Does Primer Need to be Mixed? Effective Primer Application - February 22, 2024
- How to Make Old Paint Usable Again: Retrieving and Preserving Paint - February 21, 2024