Danish oil, when applied on the MDF surface, enhances the natural beauty of the board while providing extra protection against its damage. Importantly, compared to other common oil finishes, such as tung oil and boiled linseed, Danish oil offers more benefits.
So, in this post, we will focus on Danish oil and discuss everything you need to know. Let’s dive in.
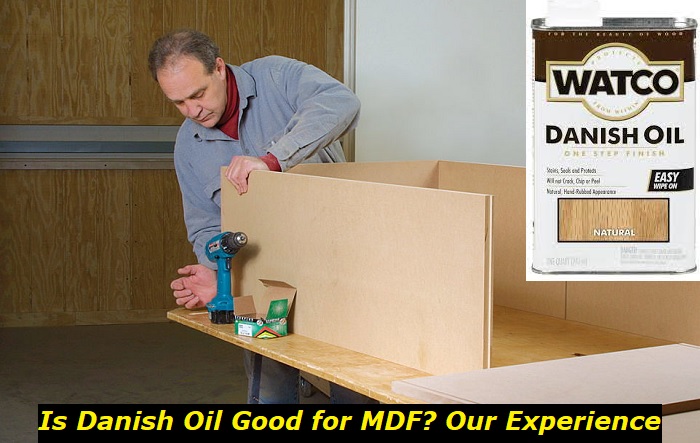
Is Danish Oil Good for MDF?
Yes. Danish oil is good for MDF. Usually, an oil-based finish such as Danish oil is the best finish for MDF.
Normally, MDF absorbs water, making it swell and even decay if no action is taken to fix the problem. Therefore, to prevent water absorption and decay, you need to make the MDF surfaces waterproof. And, you can use a good finish that will seal and protect the MDF from absorbing water.
Importantly, a good wood finish option should enrich the wood’s appearance, make the wood stand out as well as offer protection against damage. And Danish oil offers all that; hence, it’s a popular finish for many woodworkers and DIY enthusiasts.
The following are some of the benefits of applying Danish oil on MDF surfaces:
- Easy to apply. Danish oil is easy to use and is a popular wood finish. Danish oil contains a thinner can that makes it easy to apply, and you don’t need special expertise. You can use it on your furniture without making any mistakes, even as a beginner.
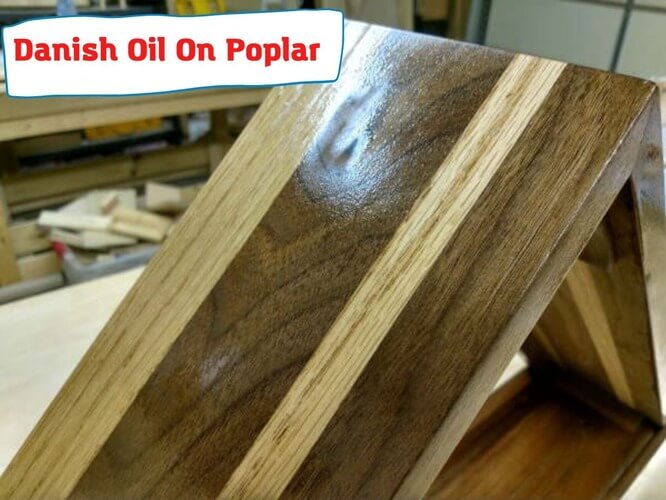
- Enhances the MDF natural look. Danish oil darkens MDF slightly, giving the surface a rich, unique look.
- Danish oil is waterproof. The finish provides a protective layer against moisture. Therefore, water can’t penetrate the wood.
- The finish protects MDF from rotting. The finish provides a waterproofing layer; hence preventing the board from absorbing water and rotting.
- Danish oil is a high-quality finish and an economical choice when looking for a high-quality MDF surface finish on a tight budget.
- The finish extends the longevity of MDF.the oil protects the MDF surface against daily wear and tear.
- Easy to maintain. The MDF finished with Danish oil only requires simple cleaning and reapplication of the oil once the surface begins to look dull. Usually, over time, surfaces coated with Danish oil become faded or worn out, and a simple fresh coat revives its luster.
Danish Oil: What You Need to Know
Danish oil comprises a mixture of varnish, oil, and thinner. The varnish in Danish oil provides more protection against wood damage by moisture. The oil protects the wood surface against wear and tear and corrosion from chemicals. The thinner makes the oil easy to apply and enables it to soak better into the wood. Usually, the Danish oil does not sit on the wood surface. Instead, it soaks into the wood.
The quality of the oil varies significantly. There is no specific formula for making Danish oil; hence its quality varies significantly depending on the proportions of the ingredients used.
The finish penetrates deep into the wood, strengthening it. The oil penetrates the MDF surface to an even and smooth finish which provides extra strength.
You can correct any mistakes while the oil is wet during application. If you make the mistake of applying a thicker coat than recommended or leaving some spots, you can correct them immediately before the oil hardens. You can use the cloth or the brush you are using to apply to correct the mistake.
Danish hardens when exposed to air. When Danish oil is exposed to air, it sets into a high-quality and durable finish.
Danish oil cures in two weeks. After applying the Danish oil finish, you should wait for at least two weeks for the oil to set.
Danish oil is food-safe. Danish oil is food-safe; hence you can use it on kitchen cabinet surfaces.
How to Make Your Danish Finish
Instead of buying, you can make your Danish oil. However, if you are a beginner and you don’t want to make mistakes, opt for the Danish oil from stores.
Mainly, in the stores, you will get Danish oils that you can use on your MDF wood surface for a beautiful finish. But, if you prefer more control, you can make your Danish oil.
The process of making your Danish oil is straightforward. Take equal portions of boiled linseed oil, thinner, and varnish, and pour each into a glass jar. Importantly, use the boiled linseed oil and not the regular linseed oil. Although you can use regular linseed oil if you don’t have boiled linseed oil it dries slowly and makes the oil difficult to use, Therefore, avoid using it.
Then, stir the ingredients to make Danish oil. Ensure no air bubbles are trapped inside by stirring slowly.
Importantly, you can adjust the ratios of the ingredients to meet your preference depending on the most dominant component. For instance, if you are making Danish oil for regular use, mix the three ingredients in equal portions. On the other hand, for tougher and long-lasting protection, add more varnish.
Alternatively, you can use different ingredients of polyurethane varnish and boiled linseed oil for better properties. For instance, for better moisture resistance quality, you can use tung oil instead of boiled linseed oil. Usually, tung oil offers more moisture resistance compared to boiled linseed oil. However, be aware that tung oil dries slower than boiled linseed oil.
Alternatively, for better water resistance, you can use aquatic varnish instead of polyurethane varnish. The aquatic varnish is more water resistant.
How to Use Danish Oil
After buying or making Danish oil to use, you can apply it on MDF following the easy steps below.
1) Get the tools and materials ready
Before applying the Danish oil, ensure you have all the necessary materials. Some of the tools and materials you need include:
- Gloves
- Sandpaper
- A rag
- A brush
- Lintfree cloth
2) Prepare the work area
Ensure the work area is well-ventilated, and the surrounding areas are covered and protected from spills.
3) Prepare the MDF
Ensure the wood surface is smooth and clean. Sand the surface and wipe off to remove loose particles and dirt.
4) Apply the finish
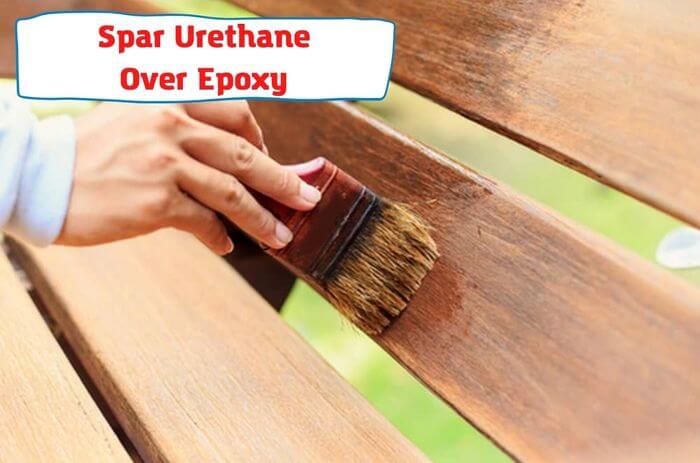
Once the MDF surface is smooth, clean, and ready to receive finish, apply the oil. Use a brush or a rag to apply the finish and spread the Danish oil evenly on the MDF surface. Importantly, apply the oil to the edges and corners of the MDF board, too.
5) Wipe off the excess finish
After applying the finish, you want a finished surface without visible brush marks. Therefore, wipe off any excess finish and remove any brush marks.
6) Allow the oil to dry
Allow the oil to dry. Mainly, you can leave the MDF overnight to dry.
7) Use finer grit sandpaper for smoothing the surface
Lightly sand the surface to prepare it for another layer of oil.
8) Apply another layer
Once you have sanded and wiped off the dust from the surface apply another layer of the oil.
9) Allow the oil to cure
Danish oil takes up to a week or two to fully cure. Once it has cured, it offers protection to the wood against moisture damage and strengthens the wood surface.
10) Apply polyurethane varnish.
If the MDF needs extra protection against wear and tear, apply a layer of polyurethane after the oil has fully cured.
Tips When Applying Danish Oil
- Wear a mask. When using Danish oil, wear a mask to protect you from inhaling fumes that can cause you to experience headaches or nausea.
- Use a glass jar with a metallic lid to make and store Danish oil.Do not use plastic containers when mixing our Danish oil. You should mix and store the oil in a tightly sealed glass jar.
- Ensure the surface is free of any other finishes. Apply Danish oil over a surface free of other finishes such as lacquer or poly.
- Test Danish oil on a small hidden surface.Test the Danish oil in a small, inconspicuous area to assess the quality of the finish and make necessary adjustments when necessary before using it in the main project.
- Surface preparation is crucial. You shouldn’t skip this step.
- Apply at least three coats.The number of coats you can apply will depend on the finish appearance you want to achieve. But, mainly, 3-5 coats are sufficient for an excellent appearance and protection.
- Apply the oil evenly and wipe off the excess. Don’t miss any spots when applying Danish oil, and ensure you apply it evenly.
- Be patient to allow each coat to dry. Always allow each coat to dry thoroughly before applying a subsequent coat.
- Check whether the Danish oil is dry. The Danish oil should be dry to the touch, and when you rub your finger, you shouldn’t get a smear.
- Do not dispose of the rags you use while wet.The wet oil is highly combustible and can start a fire. Therefore, dry the rags first before disposing of them.
Conclusion
Danish oil is a waterproof finish that enhances the natural appearance of wood and prevents the MDF from absorbing water. The oil protects the MDF from rot and decay and resists insects and pest attacks. Mainly, it’s a multipurpose finish that offers lots of benefits.
Therefore, by using the Danish oil on MDF in the right way, you are guaranteed the best and most beautiful finish.
- Can You Unmix Paint: Techniques, Consequences, Alternatives - February 23, 2024
- Does Primer Need to be Mixed? Effective Primer Application - February 22, 2024
- How to Make Old Paint Usable Again: Retrieving and Preserving Paint - February 21, 2024
